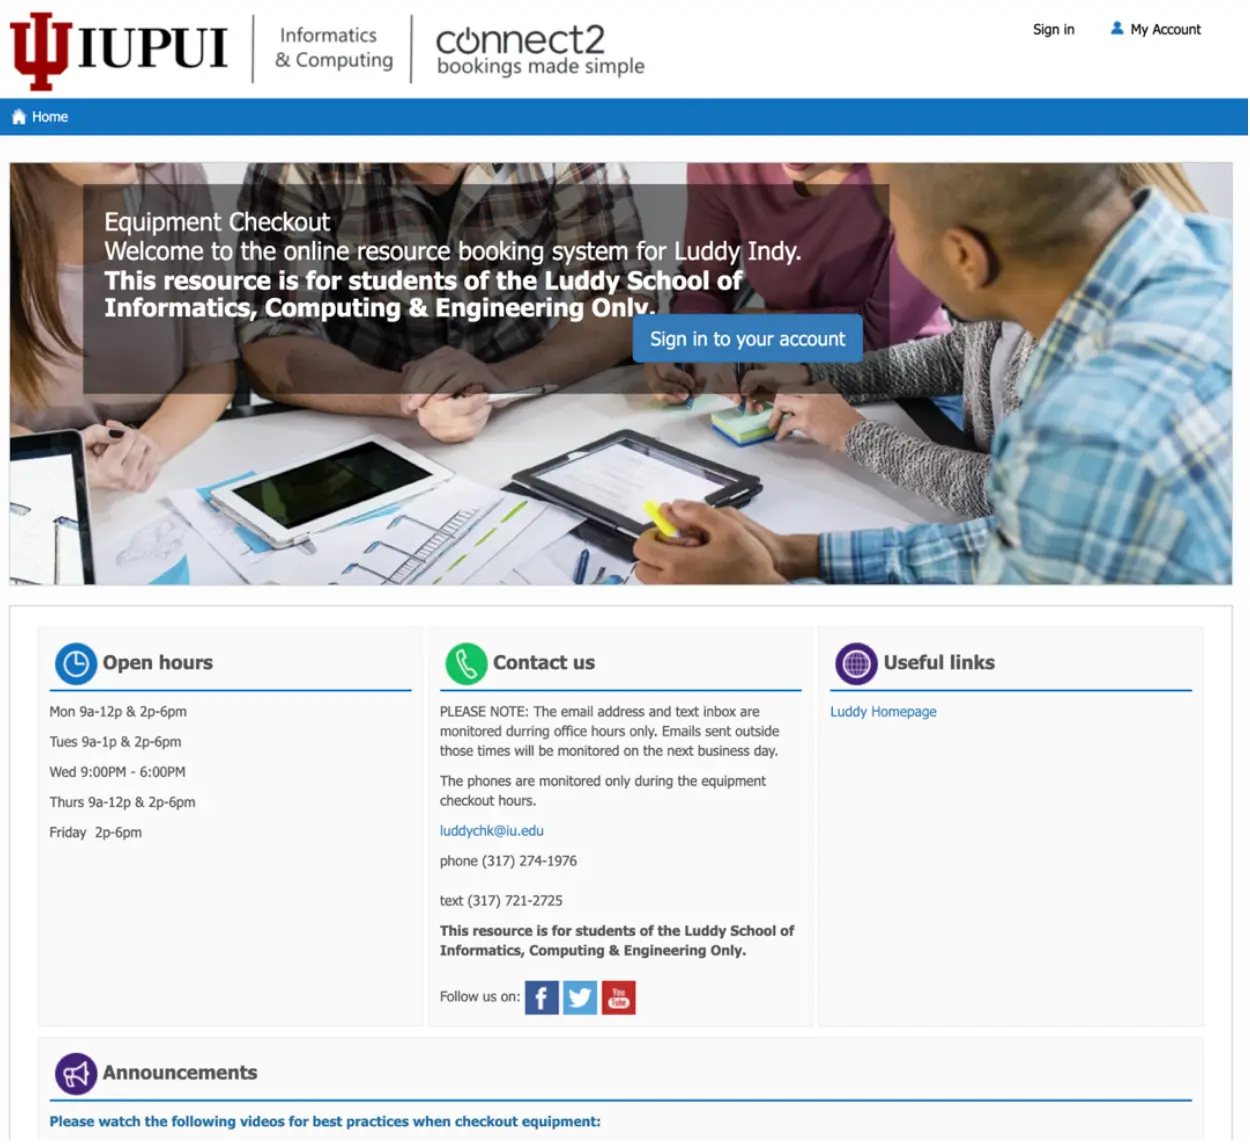
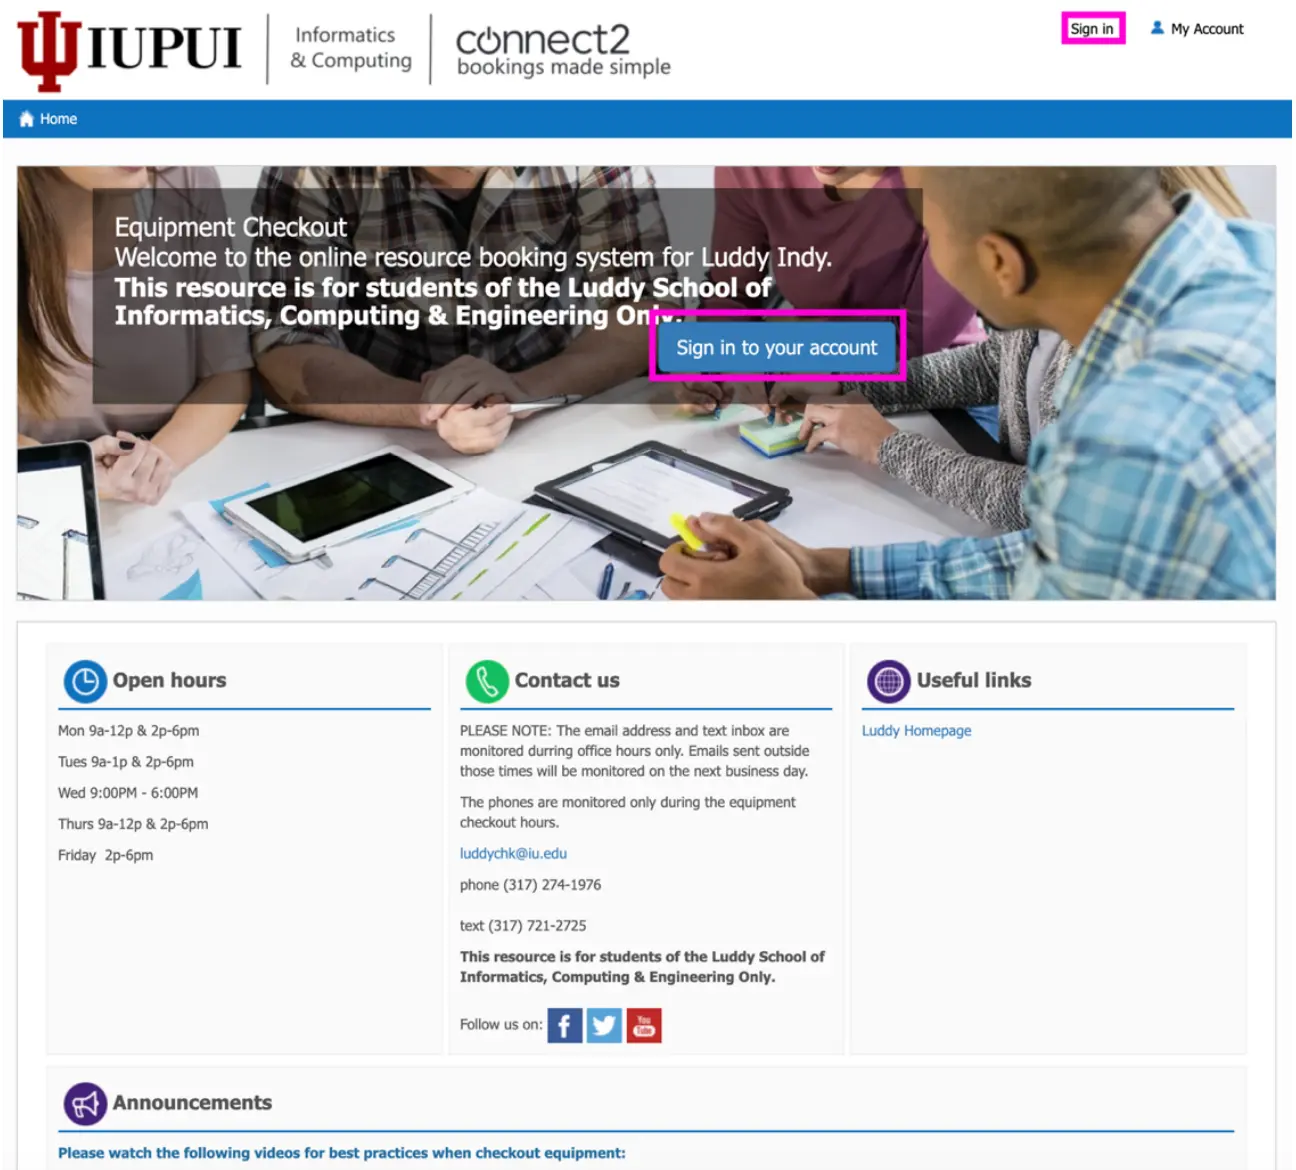
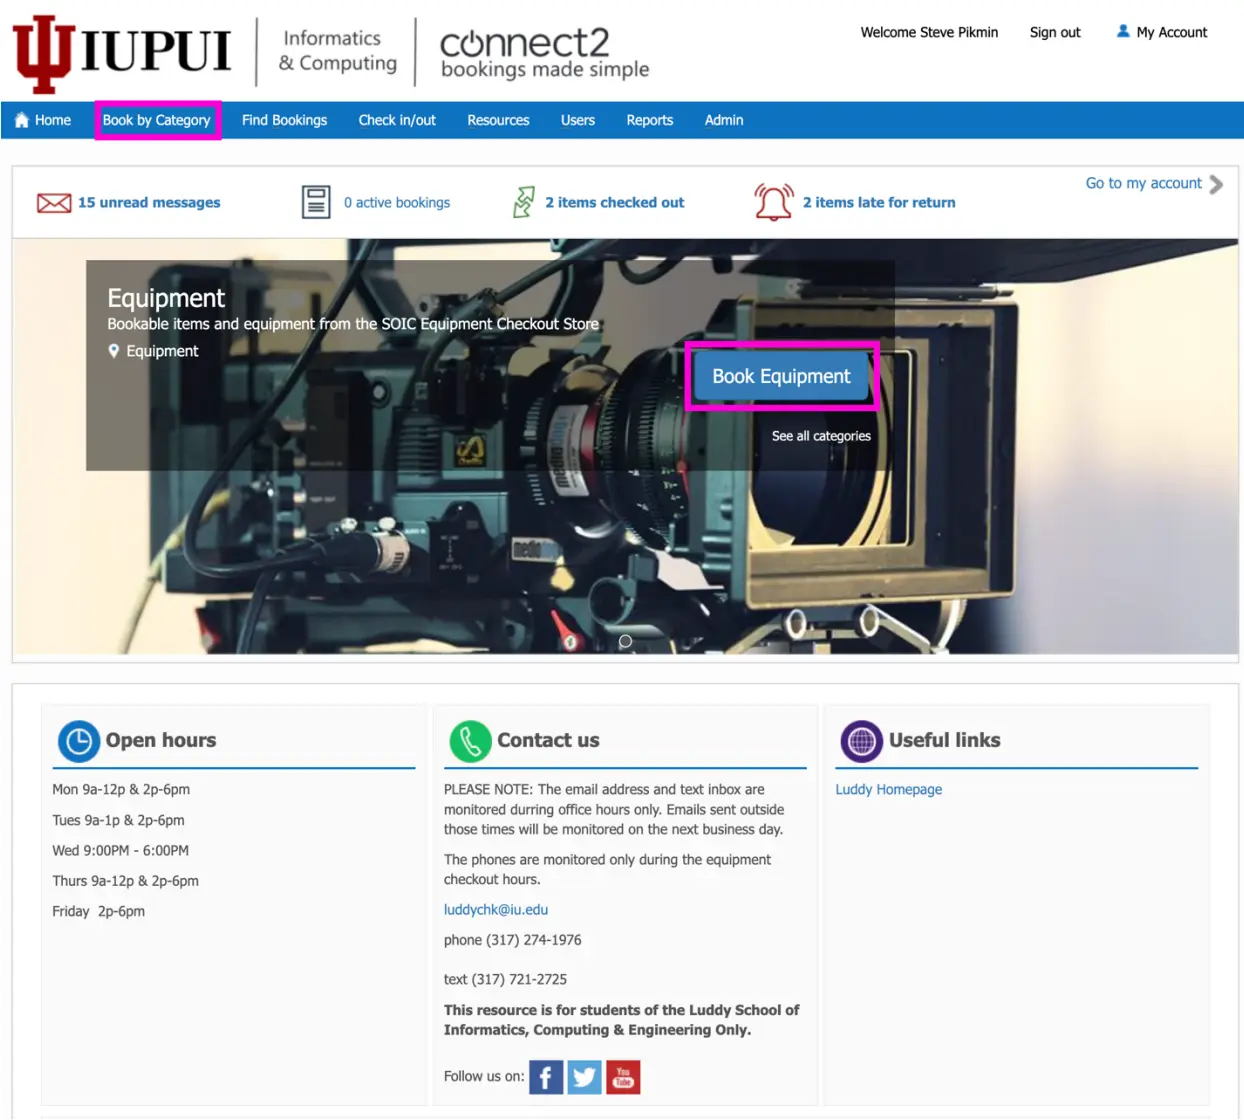
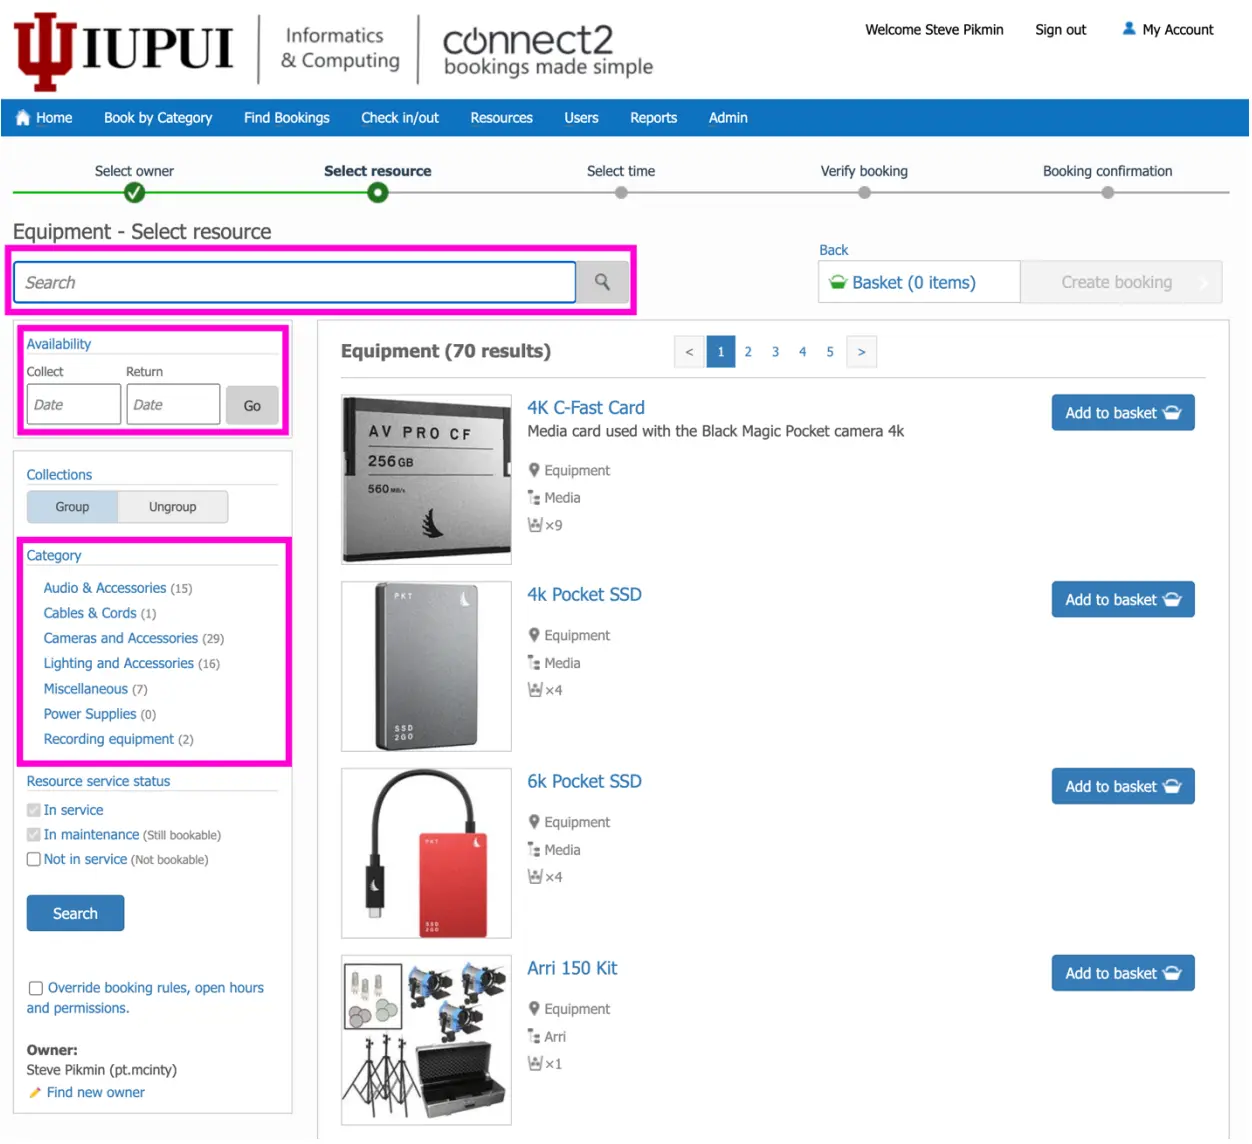
On the first page of the booking, you may select from the gear available for your class projects. Click the "Add to basket" button to add items to your basket.
To view the items in your basket, click the basket link at the top of the page. From there, you can also remove or change the quantity of a particular item.
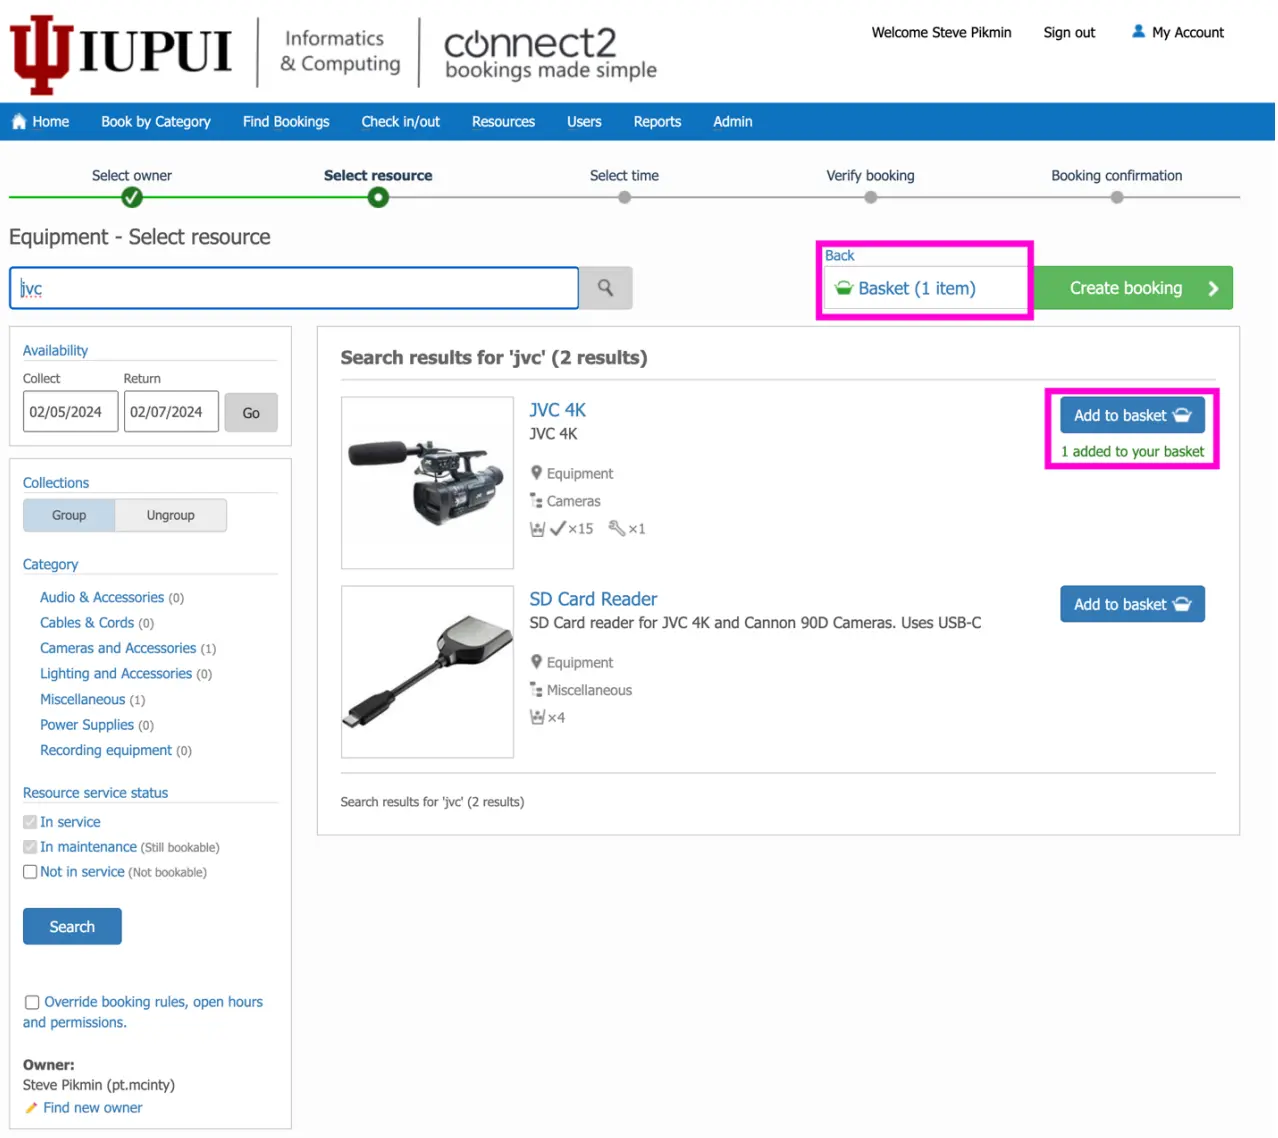
You also have other options available to help you select items for booking. In the top left corner, you'll see a search box, which will search the names and descriptions of our equipment for the terms you enter.
*Note: The search box is dependent on the category you are in. If you navigated to the "Audio Recorders & Mixers" subcategory and then search for "Camcorder", no results will be returned. To rectify this, click on the master category link, "All categories", before entering search terms.
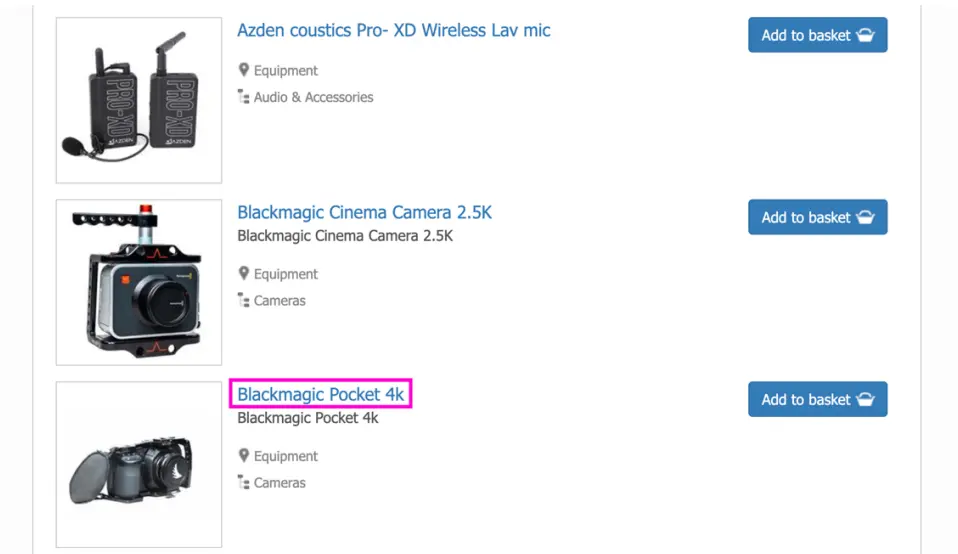
There is a “Frequently Booked With” section within some resources. For example, if you aren’t sure what filed monitor to book with the Blackmagic Pocket 4k camera, click on the item name.
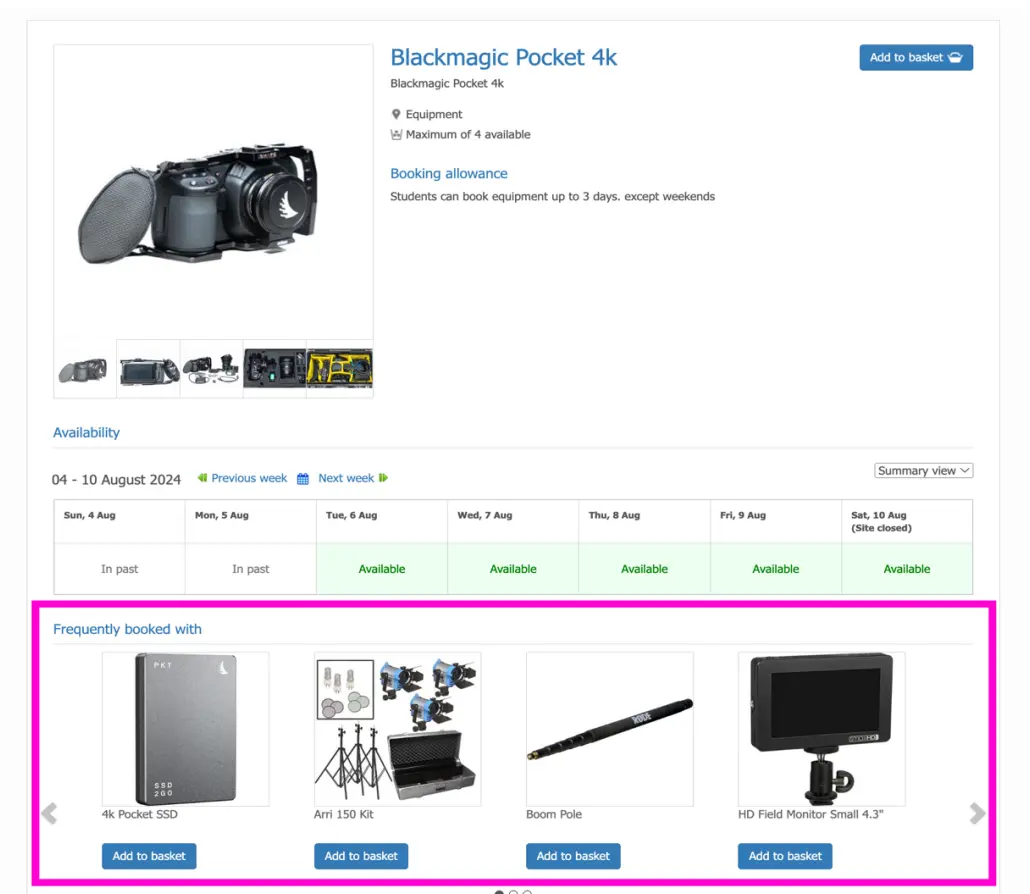
Once you are linked to the resource page of that item, scroll down to the “Frequently book with” section. These are the resources that are frequently booked with that piece of gear. Click “Add to basket” to add that specific item to your basket.
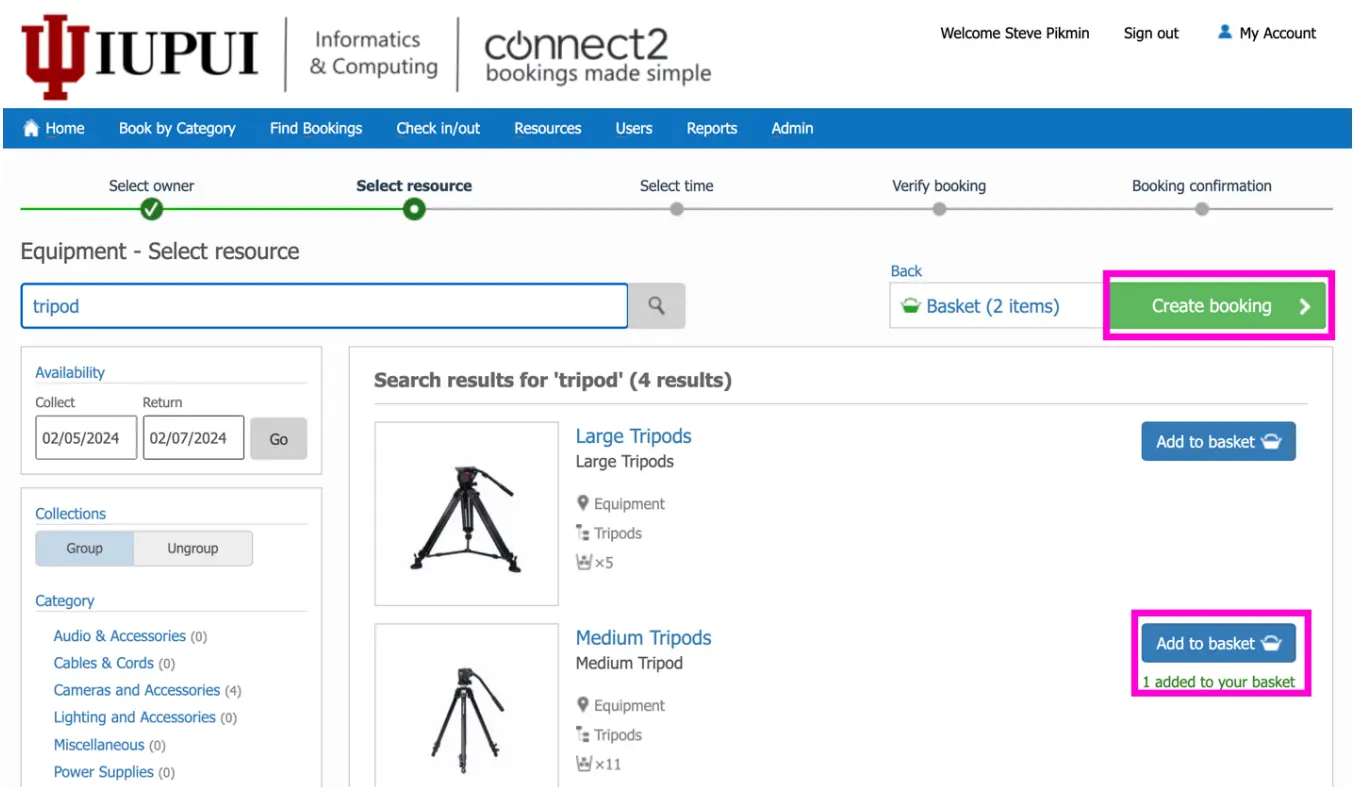
When you have finished selecting your items, click on the green "Create booking" button in the upper right corner of the screen.
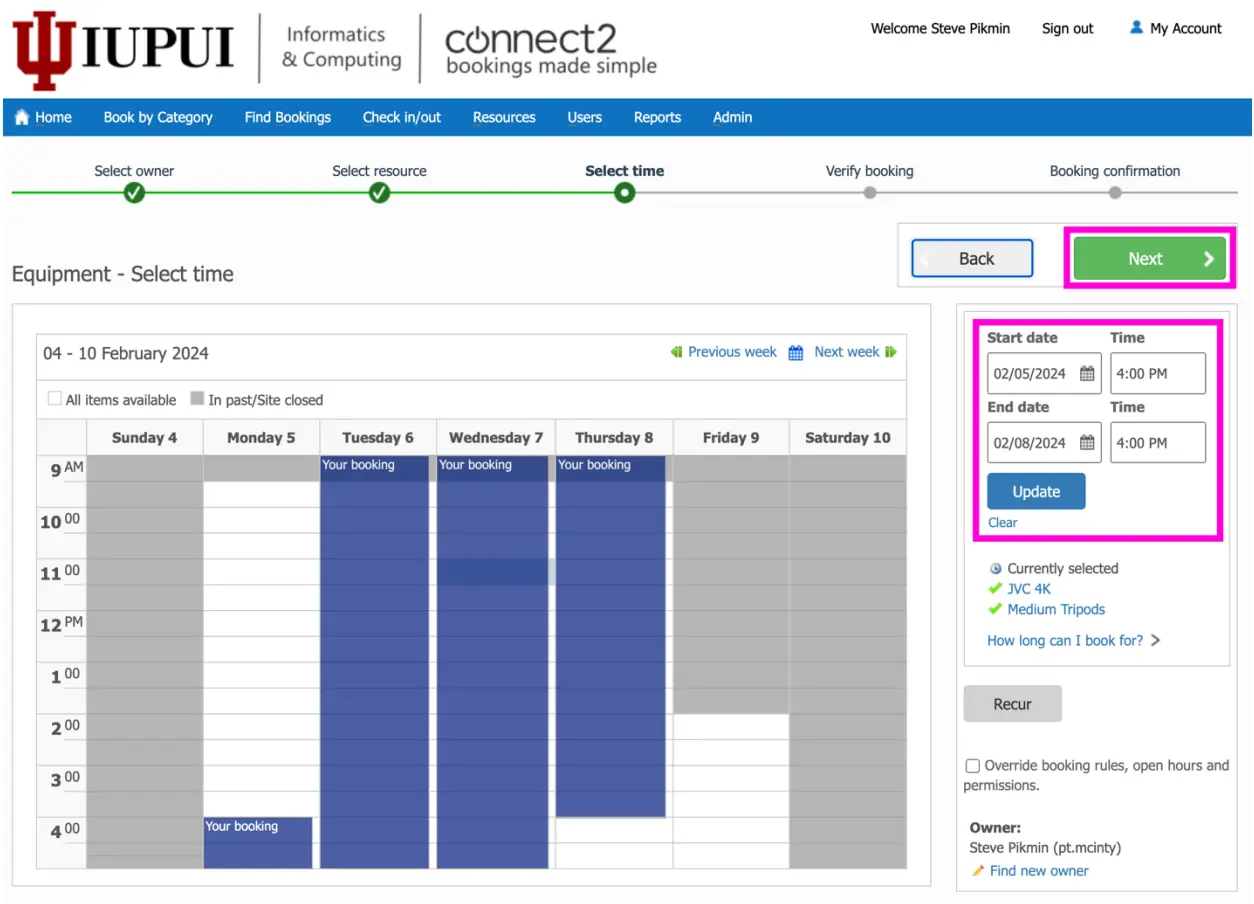
The next page allows you to select the time of your booking. Your best option is to determine how long you need the equipment to plan accordingly. Select your Start and End dates. Remember you can ONLY checkout equipment for a max of 3 Days at a time. (as shown in the photo).
*Note: If you select a start time by using the date and time boxes on the right side of the screen, it will not auto-fill your end date and time. If you attempt to enter a date and/or time that is beyond the set number of hours permitted, you will receive an error message and will be unable to continue to the next screen.
Once you have selected your booking start/end date/times, click the green "Next" button to continue.
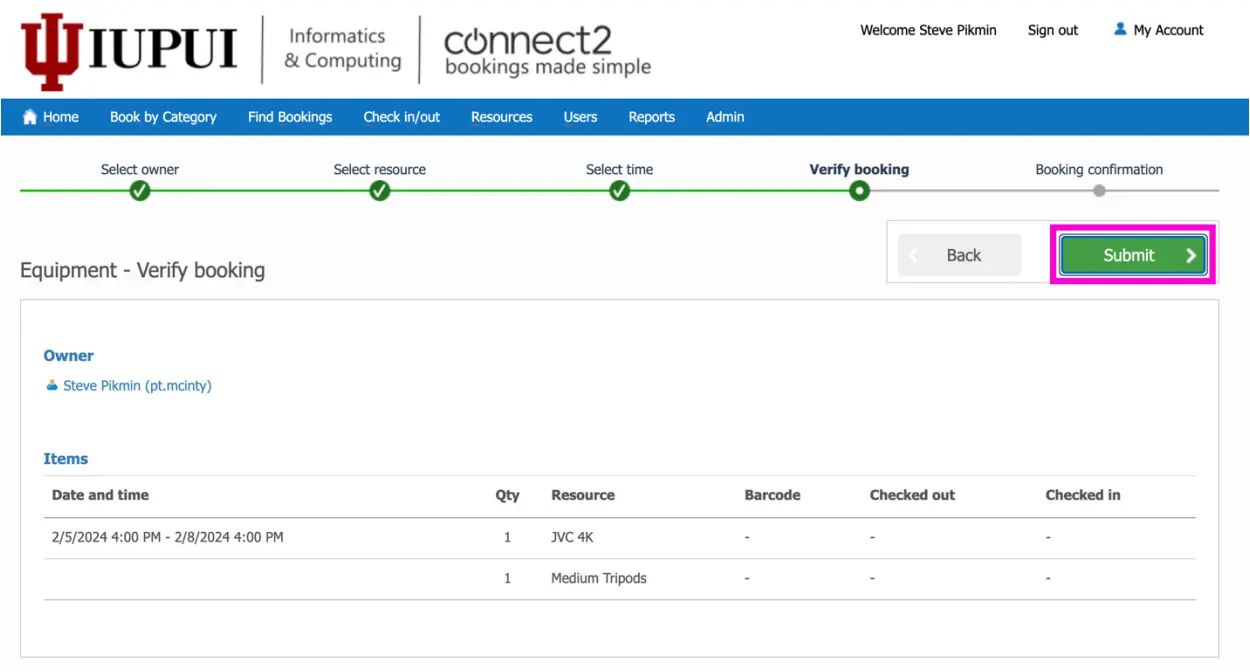
This page allows you to verify your booking and go back and make any necessary changes. When you are finished, click the green "Submit" button.
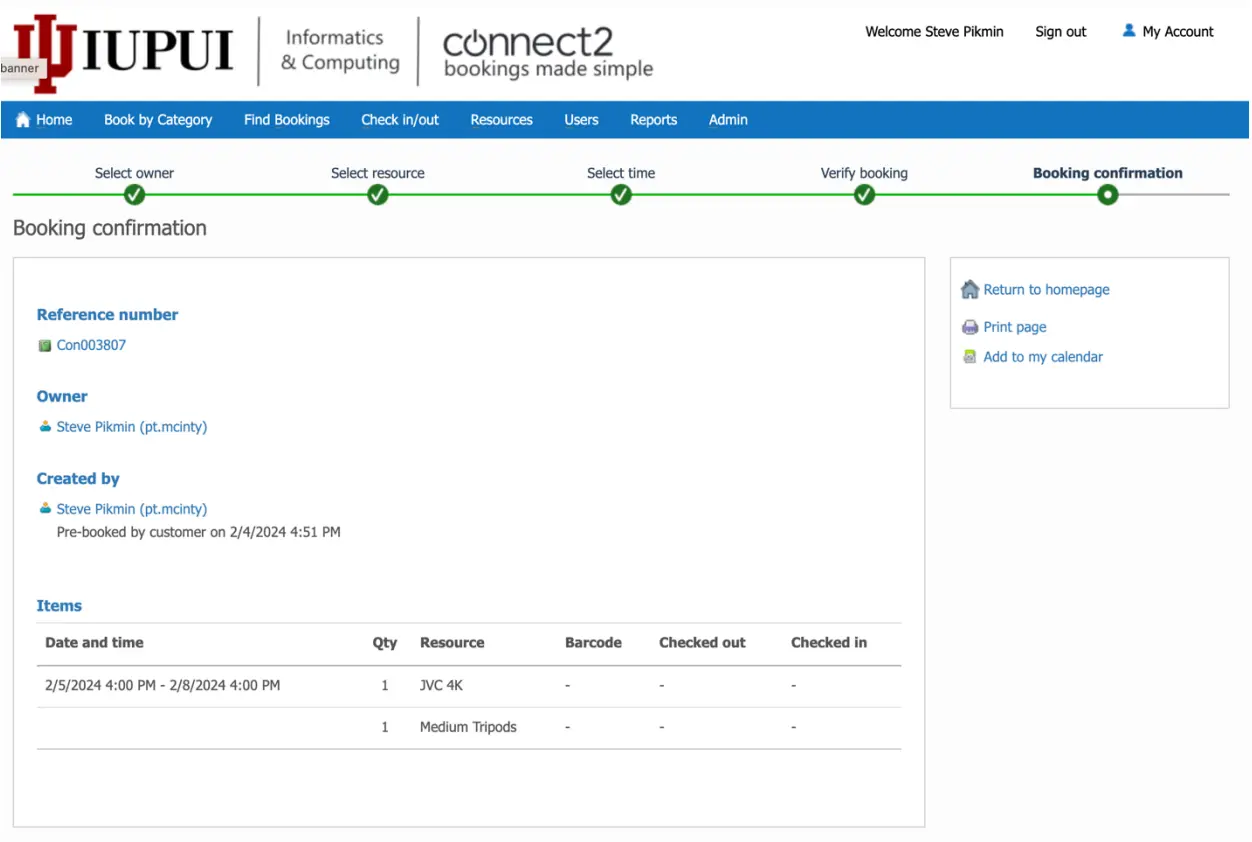
When the "Submit" button is gone and you are on the "Booking confirmation" page, you have successfully created a booking!
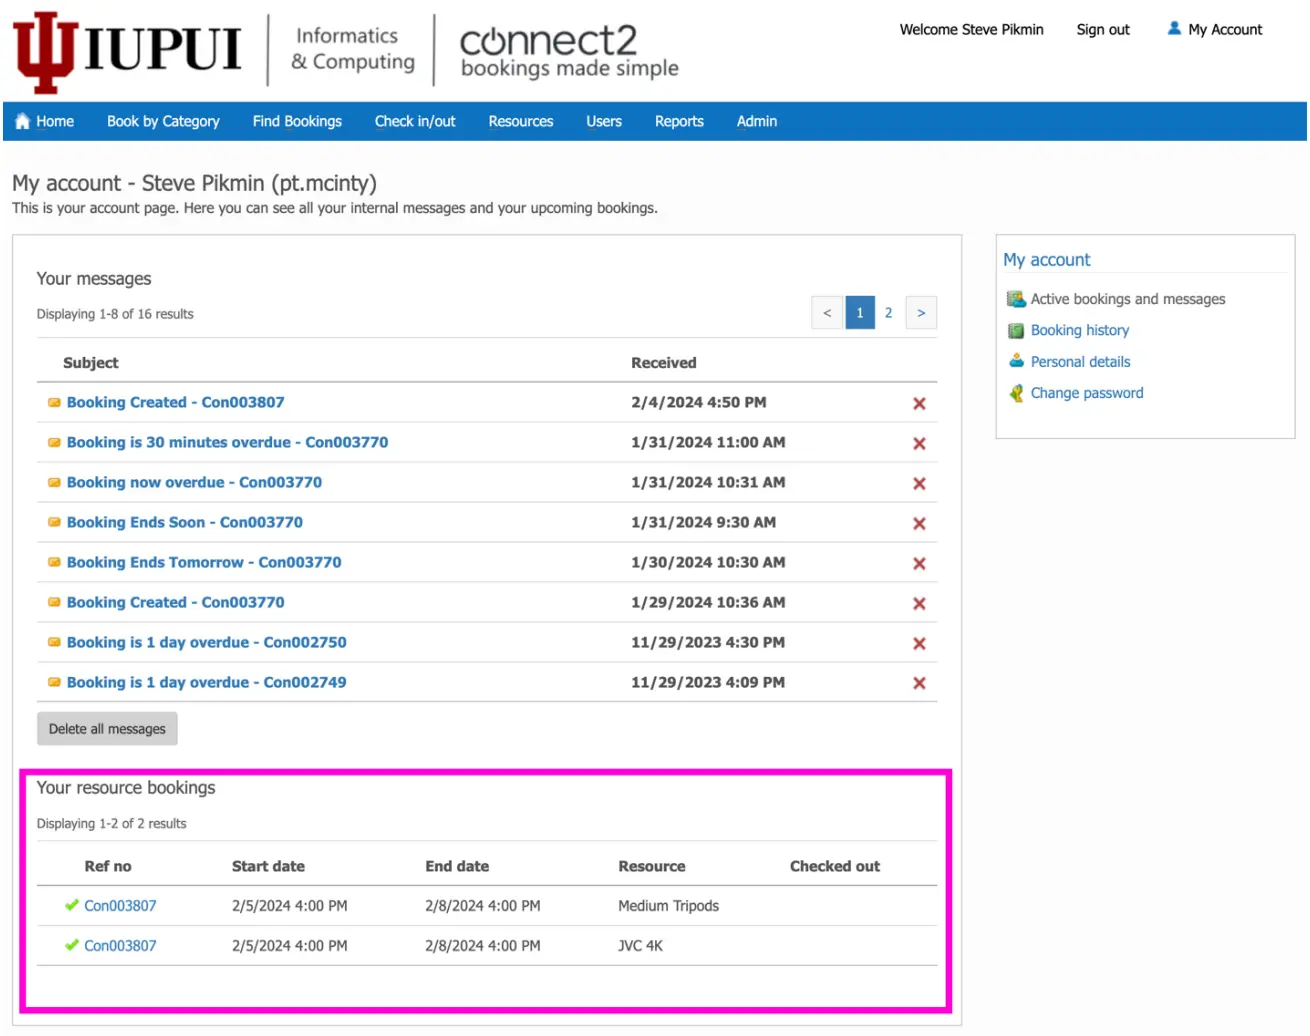
From the home page, click on "Messages" or "Active bookings" to view your general account information. You may view your booking(s) by clicking on the "Find Bookings" link in the blue menu bar. If you need to update your booking to either include/exclude items or to change the start and end date/time, please do not submit another booking. Instead, click on the reference number of your booking. The reference number starts with "Con" and is followed by a six-digit number.
Clicking on the book reference number will take you to the “Resource Booking Summary” page, seen below.
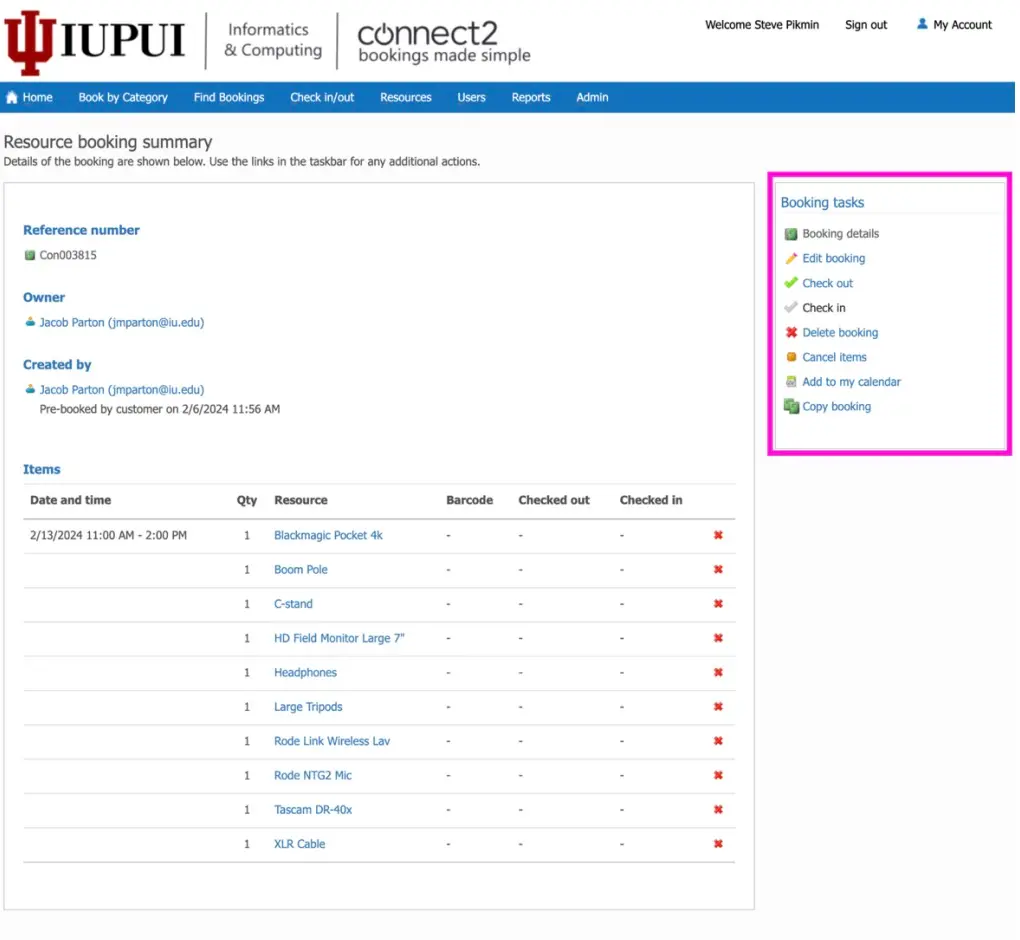
When on this page, you have several options under the heading "Booking tasks":
Booking details: This is the default view of the page, as seen above.
Edit booking: This allows you to go through the booking process again, add or remove items, change your start or end date/times, and resubmit. Instead of creating a new booking, it updates the current one.
Cancel items: This is a fast way to cancel some or all the items in your booking. By cancelling the items, you simply remove them from the booking. They will still be visible on the page but will be accompanied by a note indicating they were cancelled. If all items are cancelled, the booking is effectively cancelled.
Add to my calendar: This allows you to create an iCal file to add the booking to your own personal calendar.
Copy booking: This allows you to go through the booking process with all of the items from your previous booking selected. You can then add additional items, select a different time, and create another booking. It's a faster way to create another booking if you know you'll need the same equipment at a later date/time.


